


Installing a balcony on a container home is an exciting project that can significantly enhance the living experience and aesthetic appeal of your space. As a leading supplier of container homes, I've witnessed firsthand how balconies transform these unique dwellings into more inviting and functional living environments. In this blog, I'll guide you through the process of installing a balcony on a container home, from planning to completion.
Planning Your Balcony
The first step in installing a balcony on your container home is careful planning. This involves several key considerations:
Design and Layout
- Size and Shape: Determine the size and shape of your balcony based on the available space on your container home and your specific needs. Consider how you'll use the balcony – whether it's for relaxation, dining, or simply enjoying the view.
- Location: Choose the location of your balcony carefully. It should provide a good view and be accessible from an interior room. Common locations include the side or end of the container home, but you can also get creative and install a balcony on the roof.
- Accessibility: Ensure that the balcony is easily accessible from the interior of your container home. This may involve cutting a door or window opening in the container wall.
Structural Integrity
- Container Modifications: Before installing a balcony, you'll need to make some modifications to the container to support its weight. This may involve reinforcing the container's frame or adding additional support beams.
- Balcony Design: The design of your balcony should be structurally sound and able to withstand the weight of people, furniture, and any other items that will be placed on it. Consider using materials such as steel or aluminum for the balcony frame, as these materials are strong and durable.
Permits and Regulations
- Local Building Codes: Check with your local building department to determine if you need any permits or approvals to install a balcony on your container home. Different areas have different regulations regarding balcony construction, so it's important to comply with all applicable codes.
- Safety Requirements: Your balcony must meet certain safety requirements, such as having proper railing height and strength. Make sure to follow all safety guidelines to ensure the well - being of anyone using the balcony.
Materials and Tools
Once you've completed the planning phase, it's time to gather the necessary materials and tools for the project.

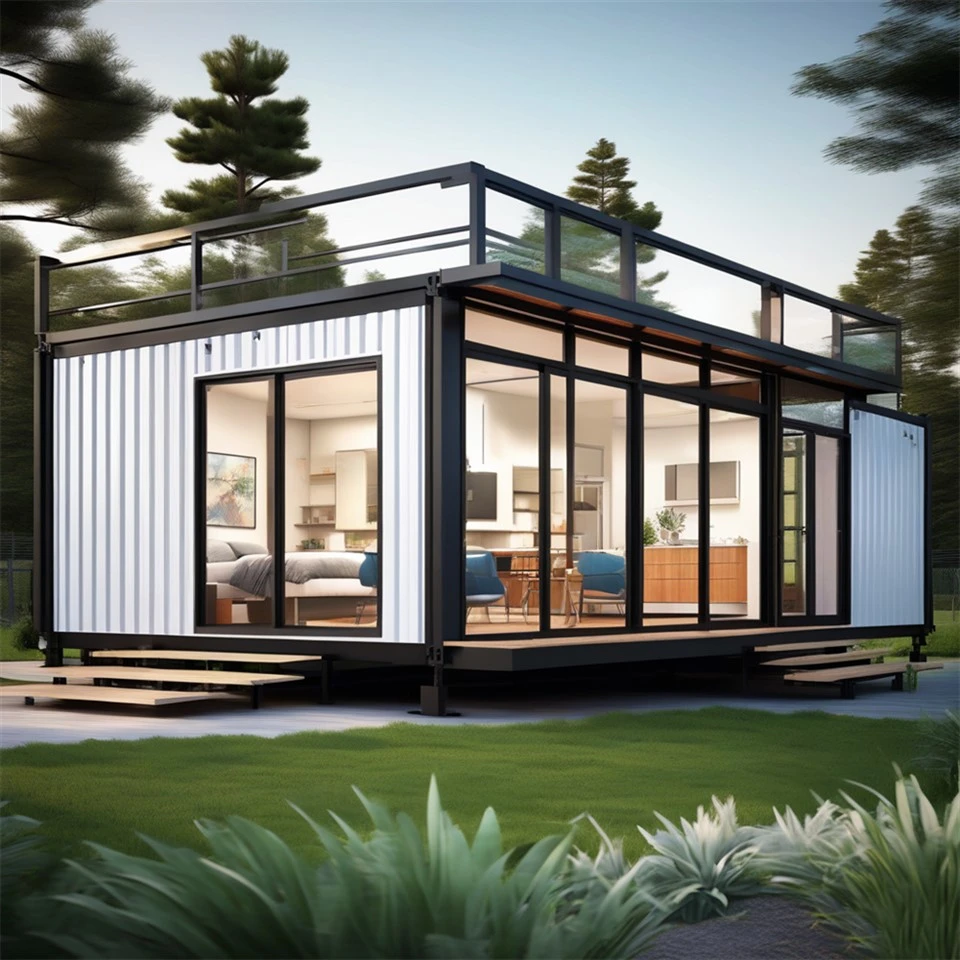
Materials
- Balcony Frame: As mentioned earlier, steel or aluminum is a popular choice for the balcony frame due to its strength and durability. You can purchase pre - fabricated balcony frames or build your own using metal tubing or angles.
- Decking Material: Choose a decking material that is suitable for outdoor use and can withstand the elements. Options include wood, composite decking, or metal grating.
- Railing System: A sturdy railing system is essential for safety. You can choose from a variety of materials, such as metal, glass, or wood, depending on your aesthetic preferences.
- Fasteners and Hardware: You'll need a variety of fasteners and hardware, such as bolts, nuts, and screws, to assemble the balcony frame and attach it to the container.
Tools
- Cutting Tools: Depending on the materials you're using, you may need tools such as a saw, angle grinder, or plasma cutter to cut the metal or wood.
- Welding Equipment: If you're building your own balcony frame or making structural modifications to the container, you'll need welding equipment to join the metal components together.
- Measuring and Marking Tools: Accurate measurements are crucial for a successful balcony installation. Use tools such as a tape measure, level, and square to ensure that everything is properly aligned.
- Drilling and Driving Tools: You'll need a drill and various drivers to install the fasteners and hardware.
Installation Process
Now that you have your materials and tools ready, it's time to start the installation process.
Preparing the Container
- Mark the Location: Use a measuring tape and level to mark the location of the balcony on the container wall. Make sure the markings are accurate and level.
- Cut the Opening: Use a cutting tool to cut the opening in the container wall for the balcony access. Be careful to follow your markings and make clean, straight cuts.
- Reinforce the Container: If necessary, reinforce the container's frame around the opening to support the weight of the balcony. This may involve welding additional support beams or adding steel plates.
Assembling the Balcony Frame
- Cut the Frame Components: Cut the metal tubing or angles to the appropriate lengths for the balcony frame. Use a miter saw or angle grinder for precise cuts.
- Weld or Bolt the Frame Together: Assemble the balcony frame by welding or bolting the components together. Make sure the frame is square and level before finalizing the connections.
Attaching the Balcony to the Container
- Position the Balcony: Carefully position the balcony frame against the container wall at the marked location. Use a level to ensure that the balcony is horizontal.
- Attach the Frame: Secure the balcony frame to the container wall using bolts or welding. Make sure the connection is strong and stable.
Installing the Decking and Railing
- Install the Decking: Lay the decking material on the balcony frame, starting from one end and working your way across. Secure the decking to the frame using screws or nails.
- Install the Railing: Attach the railing system to the balcony frame according to the manufacturer's instructions. Make sure the railing is securely fastened and meets all safety requirements.
Finishing Touches
After the balcony is installed, there are a few finishing touches you can add to make it more comfortable and attractive.
Painting and Coating
- Protect the Metal: If you used metal for the balcony frame, apply a coat of paint or protective coating to prevent rust and corrosion.
- Stain or Seal the Decking: If you used wood decking, stain or seal it to protect it from the elements and enhance its appearance.
Furnishing and Decorating
- Add Furniture: Place some comfortable furniture on the balcony, such as chairs, a table, and a lounge chair, to create a cozy outdoor living space.
- Decorate with Plants: Add some potted plants to the balcony to bring in some greenery and create a more inviting atmosphere.
Contact Us for Your Container Home and Balcony Needs
If you're interested in purchasing a container home or need assistance with installing a balcony on your existing container home, we're here to help. As a trusted [Container Homes supplier], we offer a wide range of high - quality container homes, including Container Store, Casa Contenedor 2 Dormitorios, and Container Apartments. Our team of experts can provide you with professional advice and guidance throughout the process, from design to installation. Contact us today to start planning your dream container home with a beautiful balcony.
References
- "Container Home Design and Construction Guide" by Container Home Association
- "Balcony Building Codes and Regulations" by Local Building Department Publications
- "Structural Engineering for Small Structures" by Engineering Press


